Ceramic Coating on a 1969 Cadillac DeVille: Full Process Breakdown
Hey, it’s Andy with Mid-MO Dents! Today, we’re working on a classic—this 1969 Cadillac DeVille. The customer opted for our paint correction package along with a ceramic coating to restore and protect the vehicle’s finish. Follow along as we go through the entire process!
Assessing the Paint and Test Spot
We started with a test spot to see if a one-step polish would do the trick, but after closer inspection, the paint needed a full two-step paint correction. This involves an initial heavy cut to remove deeper imperfections followed by a finer polish to bring out that high-gloss shine.
Paint Correction Process
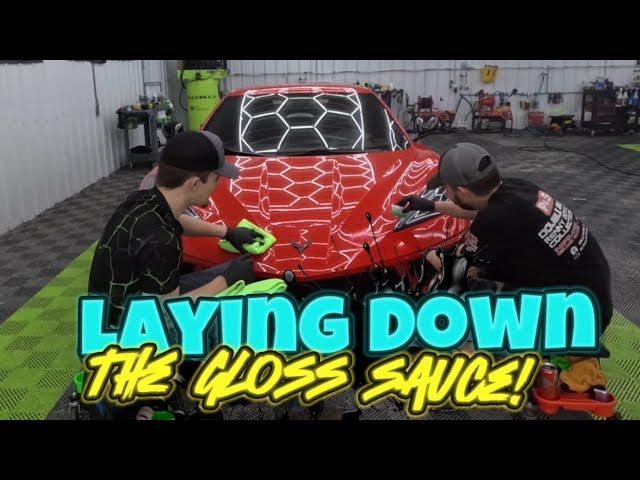
Once we knew it needed the two-step correction, we got to work. This Cadillac has plenty of surface area, and restoring older paint requires attention to detail, but the results speak for themselves. After the buffing was complete, the paint was smooth, deep, and rich in color again.
Ceramic Coating Application
With the paint correction finished, we moved on to applying the ceramic coating. This adds a durable layer of protection, making the car easier to clean and preserving its freshly polished appearance for years to come. The coating also adds a slick, glossy finish that really enhances the car's look.
Final Touches Up
After applying a tire coating and letting everything cure overnight, the Cadillac was ready to go. If you've followed along, be sure to like and subscribe! We’re entering our busy season, so you’ll see a lot of cool cars and projects coming through the shop. If you have any questions, feel free to drop them in the comments!
