Toyota Highlander Dent Repair & Corvette Ceramic Coating: Project Highlights
Hey, it’s Andy with MidMo Den! Today, I wanted to share a couple of exciting projects we’ve had in the shop recently, starting with a Toyota Highlander that came in with a fender dent, followed by a Corvette that received a ceramic coating treatment.
Toyota Highlander: Fender Dent Repair
We started the day with the Toyota Highlander, which had a sizable 5-inch dent in the fender. The customer wasn’t exactly sure how it happened but suspected it was a parking lot mishap. The dent ran through a body line, making it a bit tricky to work with, but thankfully, we had plenty of access to the panel, allowing us to get right to it.
Our first step was to remove the plastic panel under the hood to access the backside of the dent. After setting up our lights to get a clear view of the damage, we began by warming the panel with a torch. Using the torch helps evenly heat the metal, making it more pliable without risking any paint damage, and it allows for a cleaner overall repair. Once the panel was ready, we used a rubber-tipped tool to start pushing the dent out. The initial push brought out a good portion of the dent, but the real challenge was in perfecting the remaining 50%, which took about two hours of precise work. This is where the expertise comes into play—making sure every little bit of the dent is gone without overdoing it and causing further damage.
To finish the job, we switched to smaller, sharper tools for the detailed work around the body line, making hundreds of tiny pushes to ensure a flawless finish. After a final buff and polish to remove any scuffs, the fender looked good as new. The customer was thrilled with the result, which is always the most satisfying part of the job.
Corvette: Ceramic Coating Prep
Our next project was prepping a Corvette for ceramic coating. This Corvette was a couple of years old, and while the paint was in decent shape, it still needed some prep work to ensure the ceramic coating would adhere properly and provide the best results.
We started by inspecting the car with the customer, agreeing on a wash, clay bar treatment, and a one-step polish to remove any minor swirls or imperfections. After a thorough degreasing of the tires, we sprayed down the car to remove any surface dirt and grit before applying a foam wash. Our washes include cleaning everything from the exterior body to the wheels, inner fenders, and even the door jams. Once the wash was complete, we used a clay bar to remove any contaminants that the wash missed, such as brake dust, tree sap, or other debris. This step is crucial to ensure a smooth, clean surface before polishing.
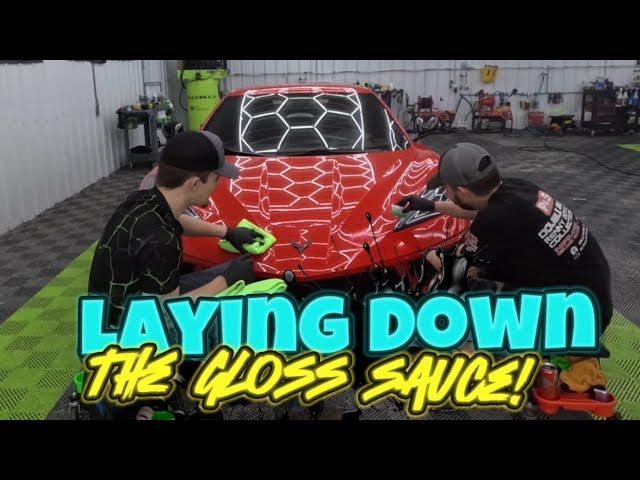
Next came the polishing. Using a fine polishing pad and compound, we carefully buffed the paint to eliminate any remaining imperfections. After polishing, we applied a prep spray to remove any oils or waxes that might interfere with the ceramic coating. With the car now prepped, we began the ceramic coating process. This is a meticulous job that takes time. One person applied the coating while another used a three-towel method to ensure the coating was leveled correctly, without streaks or residue. Each layer of coating took about an hour to apply, and we also treated the wheels and windows to make sure every surface was protected.
Once the ceramic coating was applied, the car was left to cure overnight. The difference in gloss was immediately noticeable, and the customer was thrilled with the improvement in the paint’s appearance and the added protection from the ceramic coating.
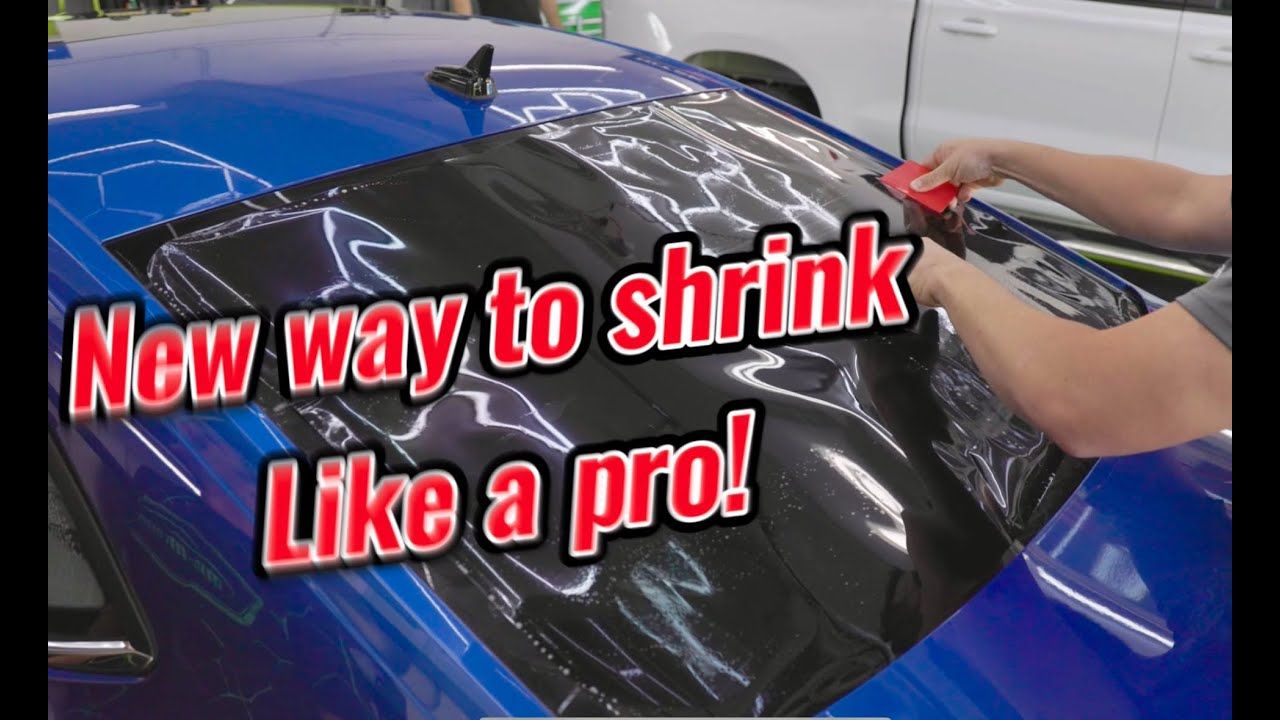
Window Tinting on a Dodge Ram
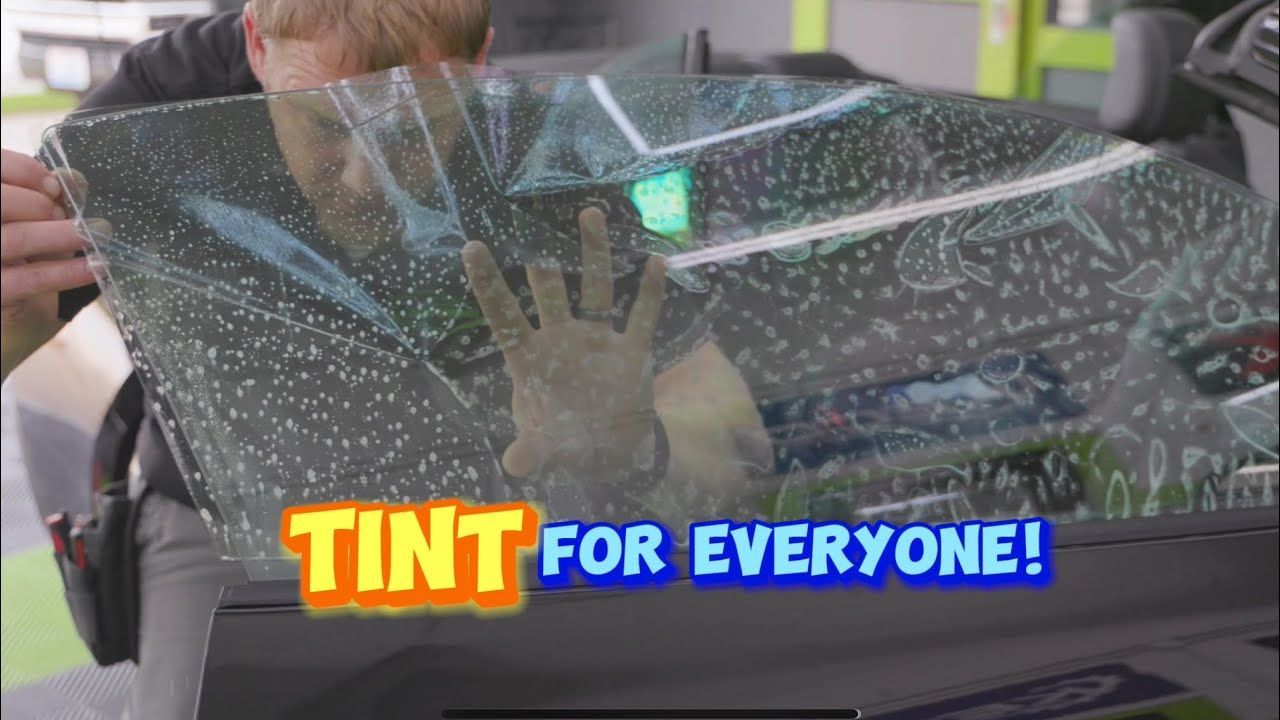
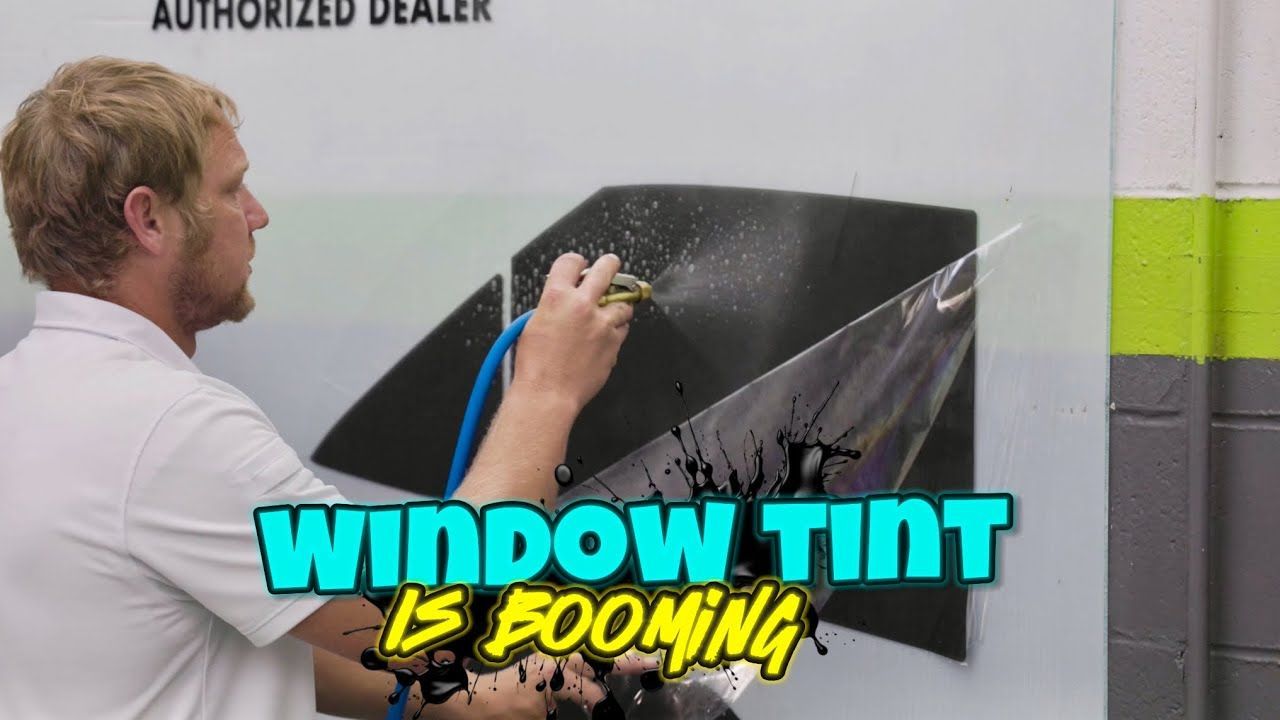
We also had a Dodge Ram come in for window tinting on the two front windows. The customer opted for our carbon tint, which offers a lifetime guarantee and matches perfectly with the factory tint on the rear windows.
After selecting the proper patterns for the tint, we removed the rubber weather strips from the windows to allow for a cleaner application. Removing these strips minimizes the risk of dirt or debris getting trapped under the tint. After thoroughly cleaning the glass with a stainless steel razor blade, we carefully applied the tint, making sure not to touch the door panels or any other surfaces that could introduce dirt. Once the tint was in place, we squeegeed out the soapy water, ensuring a perfect fit with no bubbles. The tint will take a few days to fully cure, but even immediately after application, the windows looked fantastic.
These projects highlight the kind of detailed work we love to do here at MidMo Den. Whether it’s dent repair, ceramic coating, or window tinting, we take pride in delivering top-quality results for our customers. As winter gives way to spring, we expect to be busy with even more ceramic coatings and tint jobs. If you're interested in any of these services, be sure to follow us for updates on the latest projects. Thanks for reading, and we’ll see you on the next one!