Ceramic Coating and Window Tinting a Fisker Ocean: Challenges & Tips
Hey, it’s Andy with MidMo Dents, and today we’ve got an exciting project to share. We’re working on a brand new Fisker Ocean, giving it a ceramic coating and tinting the windows. What makes this one interesting is the matte paint finish, which requires extra care and attention during the ceramic coating process. Stick around for tips on ceramic coating matte paint and the challenges we faced with window tinting. Let’s dive in!
Window Tinting the Fisker Ocean
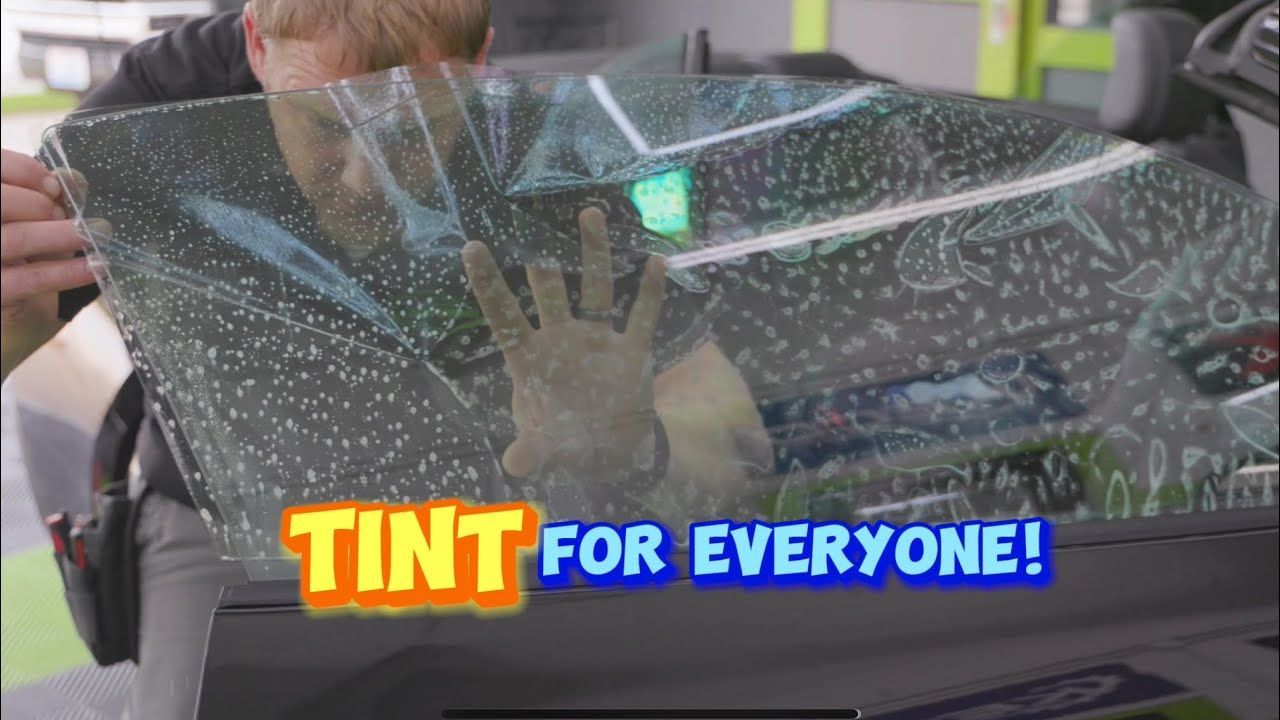
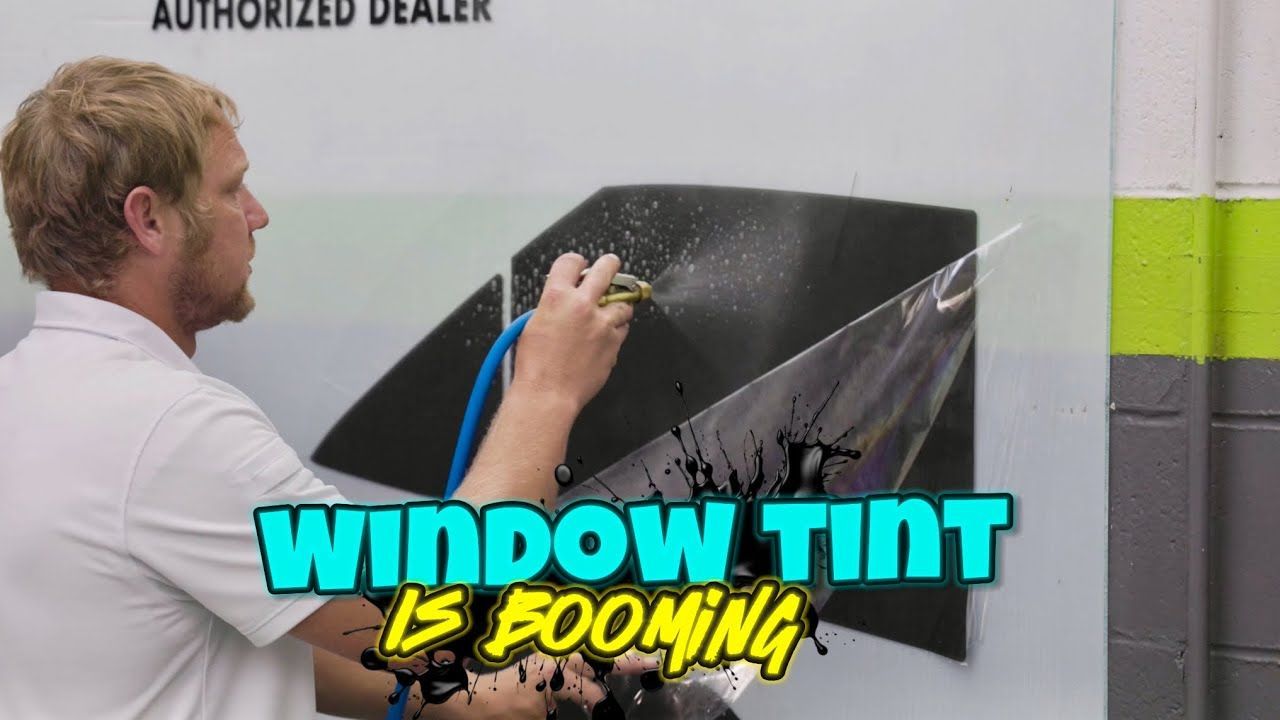
We began by inspecting the Fisker Ocean, focusing on the windows for tinting. The first step was removing the door panels, allowing us to get the weather strips out of the way. This gave us a clean gap to slip the tint behind the window without any dirt or debris getting trapped.
After removing the weather strips, we thoroughly cleaned the windows using a stainless steel razor blade to scrape off any adhesive, dirt, or debris stuck to the glass. This ensures a smooth surface for applying the tint. Once the windows were cleaned, we taped off the felt moldings to prevent any loose fibers from contaminating the tint.
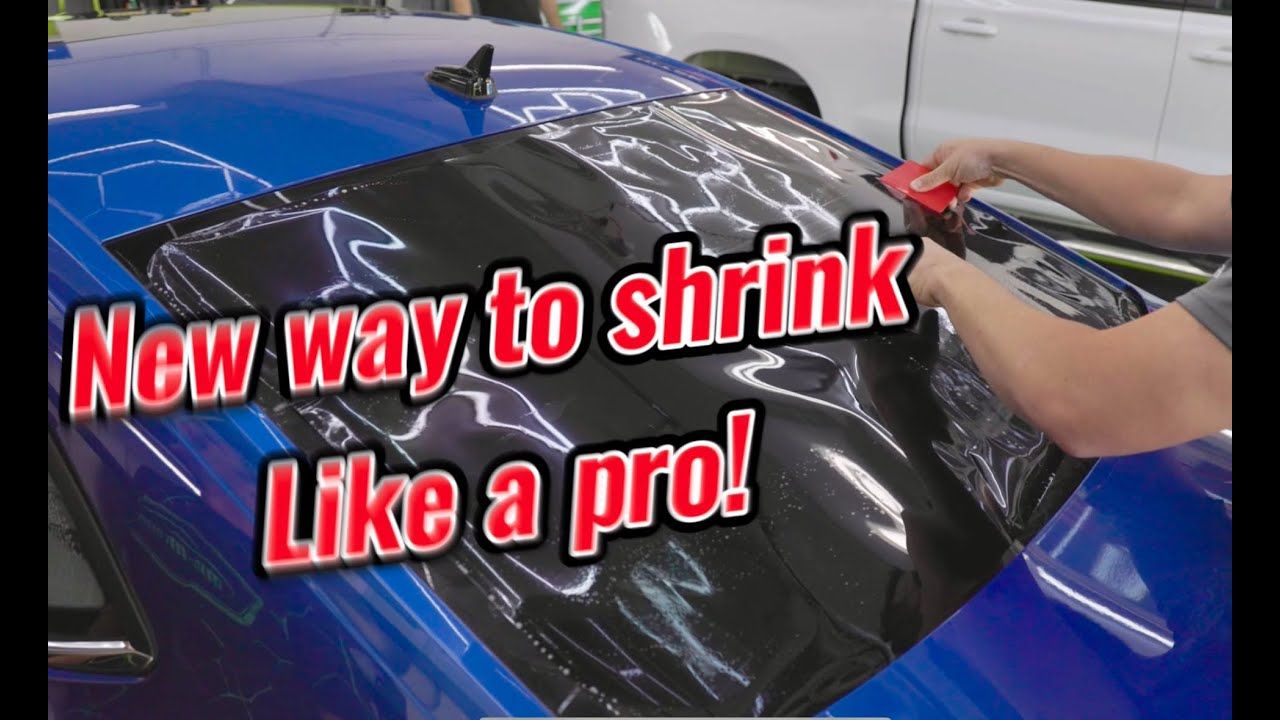
With the prep work done, we wet the tint pattern and carefully applied it, starting from the bottom of the window and working our way up. The key here was to avoid touching the door panels or any surfaces that could introduce dirt. After positioning the tint, we began squeegeeing out the water, making sure the edges were pressed down to prevent peeling. We repeated this process for all the windows, ensuring a tight, clean fit.
The real challenge came with the rear quarter window, which actually rolls down—a feature that added complexity. To handle this, we used a suction cup on the outside of the window to create a gap, allowing us to slide the tint into place. This creative solution allowed us to tint the window without any issues.
Ceramic Coating the Matte Paint
After completing the window tinting, we shifted our focus to ceramic coating the Fisker Ocean’s matte paint. The process started with a thorough wash to remove any debris or bug guts from the surface. Since matte paint can’t be polished like regular paint, we had to be extra cautious, using gentle cleaners and avoiding any scratches. Any scratches on matte paint are permanent, so this step was crucial.
Once the car was cleaned, drying it became the top priority. With professional-grade ceramic coatings, even a small amount of moisture can cause the coating to harden instantly, leaving shiny or milky spots on the paint. Since matte paint can’t be polished, ensuring every crack and crevice was bone dry was the most important part of our prep process.
After drying, we moved the Fisker Ocean out of the wash bay to prevent any accidental water splashes. We used compressed air to blow out any remaining water around the wheels and trim. Then, we applied a prep spray similar to what body shops use, but with added lubrication to avoid scratching the delicate matte surface. We found a few areas with tree sap, which we cleaned using an all-purpose cleaner before moving on to the ceramic coating.
Applying the ceramic coating to matte paint is a delicate process. The coating goes on glossy but must be leveled perfectly to avoid any uneven spots. Using the three-towel method, we ensured each panel was checked thoroughly to maintain a smooth, flawless finish. The key to working with matte paint is the shorter flash time—if the coating dries too fast and hardens, you’re left with a major problem that can’t be fixed easily.
We moved panel by panel, ensuring that the coating was applied evenly. Unfortunately, due to a rookie mistake, our GoPro died mid-way through the job, so we missed capturing all the coats. However, the final result was stunning! The Fisker Ocean looked incredible, and the customer was thrilled with the outcome. Fun fact: this is one of the few Fisker Oceans in Missouri, and we were lucky enough to be the first to ceramic coat it!