Window Tinting a 2024 Honda Accord: Full Process
Hey, it’s Andy with Mid-MO Dents! Today, we’re following our lead tinter, Kyle, as he tints a 2024 Honda Accord. We’ll walk through the steps of the process and share a few tips along the way. Let’s jump right in!
Starting the Tinting Process
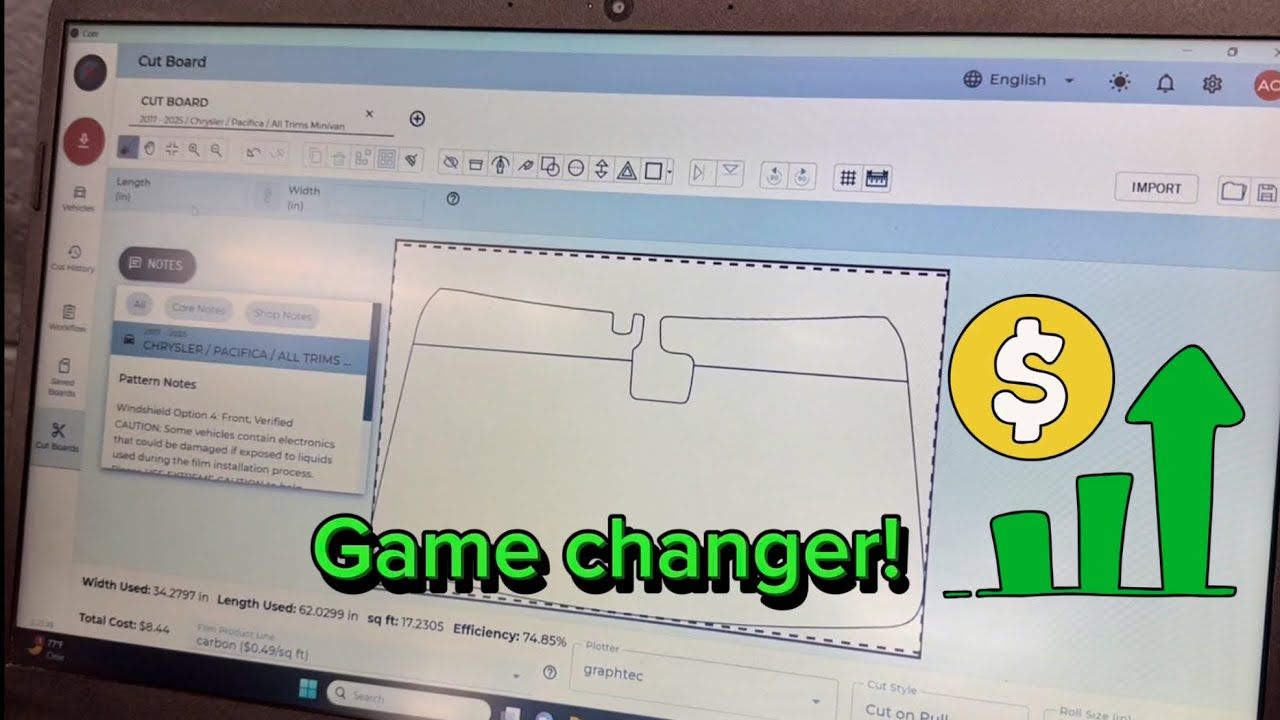
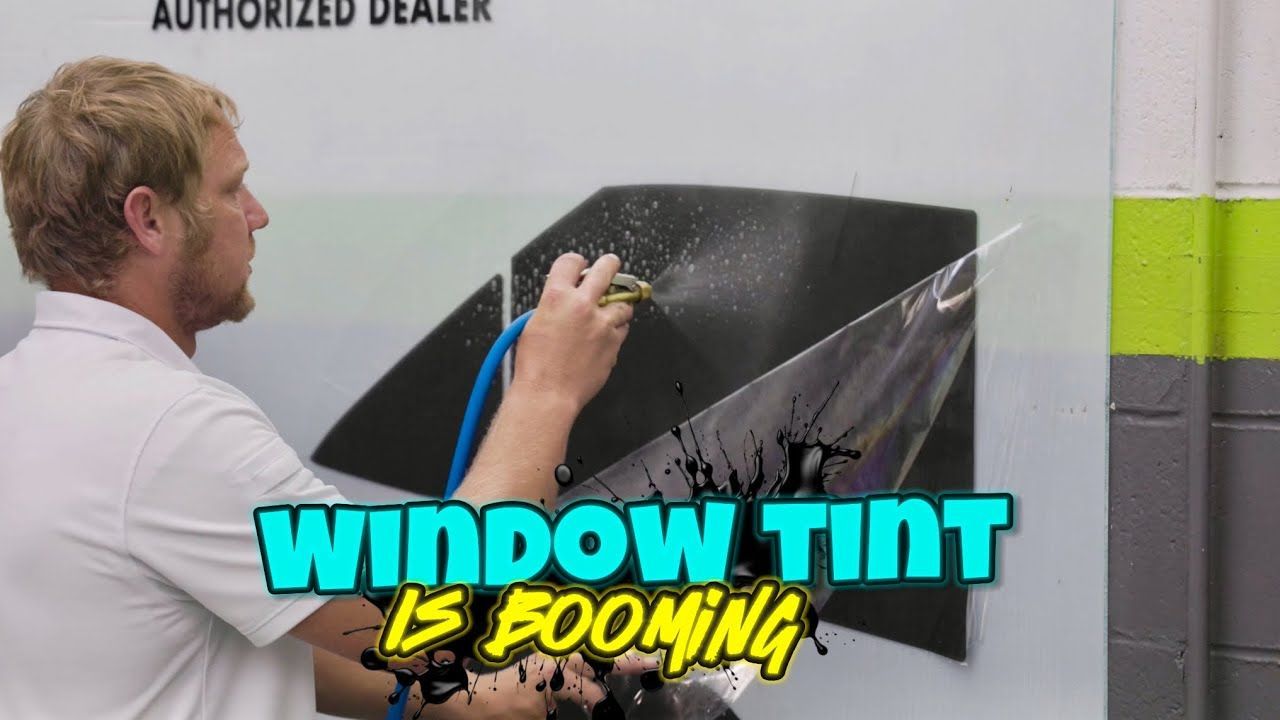
As with any new vehicle, we always begin by testing one window first to make sure the tint pattern fits the car properly. For this Honda Accord, Kyle started by cutting out the rest of the patterns after confirming the fit. Once that was squared away, we moved on to tinting the rest of the windows.
What made this job a bit quicker was that we didn’t need to remove all the door panels to get the weather strips out, which is often necessary for a clean install. This saved us some time and allowed Kyle to move swiftly through the process.
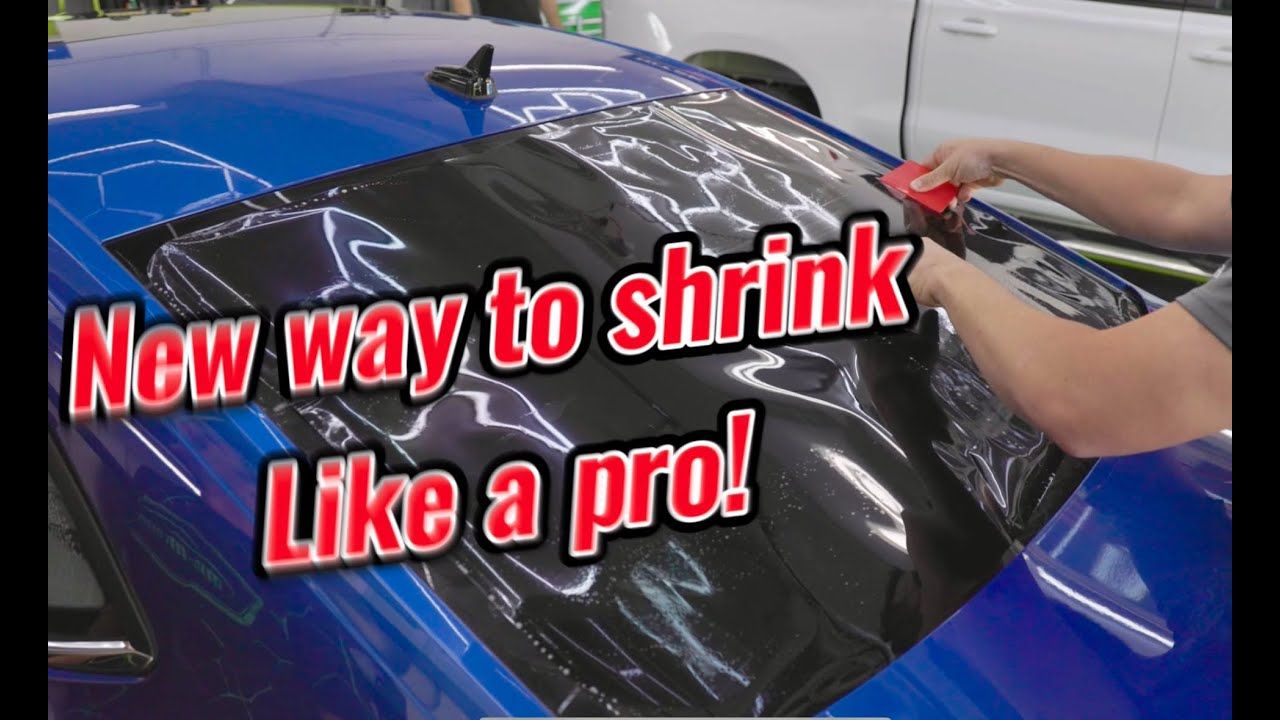
Tackling the Back Window
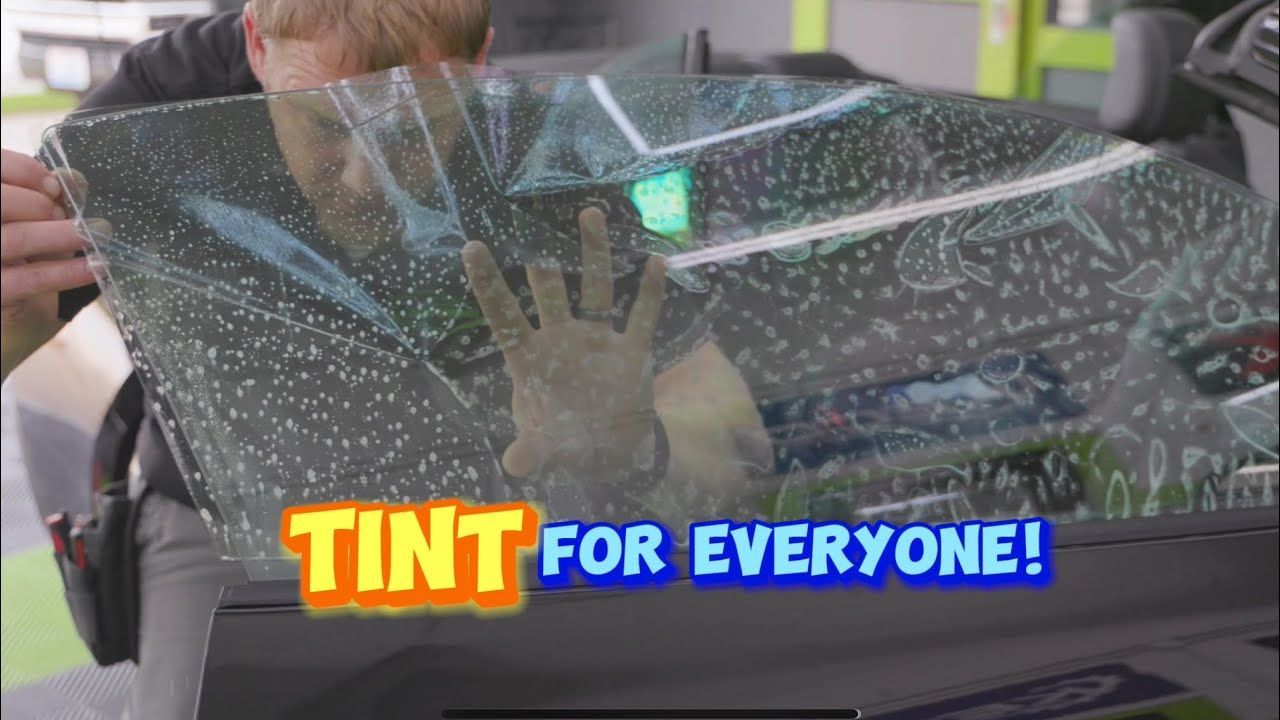
After finishing the side windows, it was time to cut and apply the tint for the back window. For newer vehicles like the Accord, this part can be a bit tricky due to the large defrost lines that are common on these models. Before applying the tint, we needed to clean the back glass thoroughly.
To ensure the tint adhered properly to the back window, Kyle used lacquer thinner to remove any coatings that might interfere with the film. He also used a stainless steel scrubber and a high-tech scrubber to clean the surface and prep it for the tint.
Final Product and Lifetime Gaurantee
We use high-tech film for all our tinting jobs, which has been incredibly reliable for us. Not only does it look great, but it also comes with a lifetime guarantee. Once Kyle finished the back window, the entire car looked sleek and clean with its new tint.
The body content of your post goes here. To edit this text, click on it and delete this default text and start typing your own or paste your own from a different source.