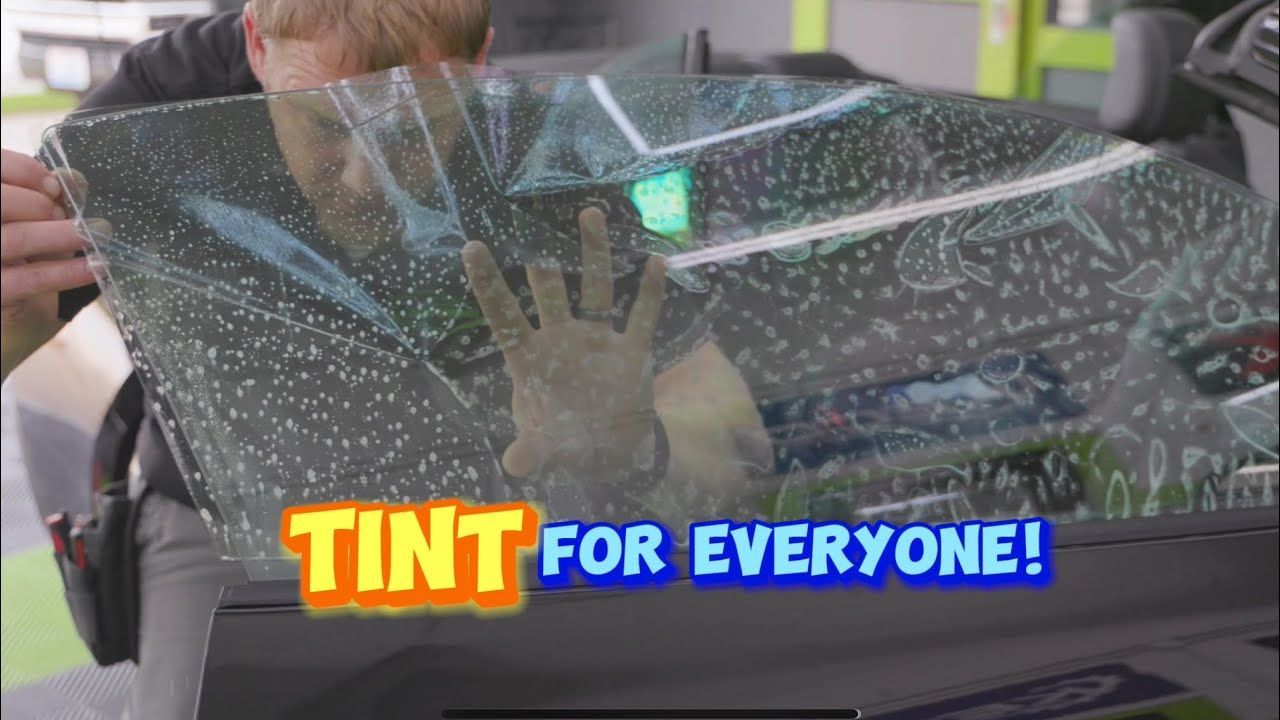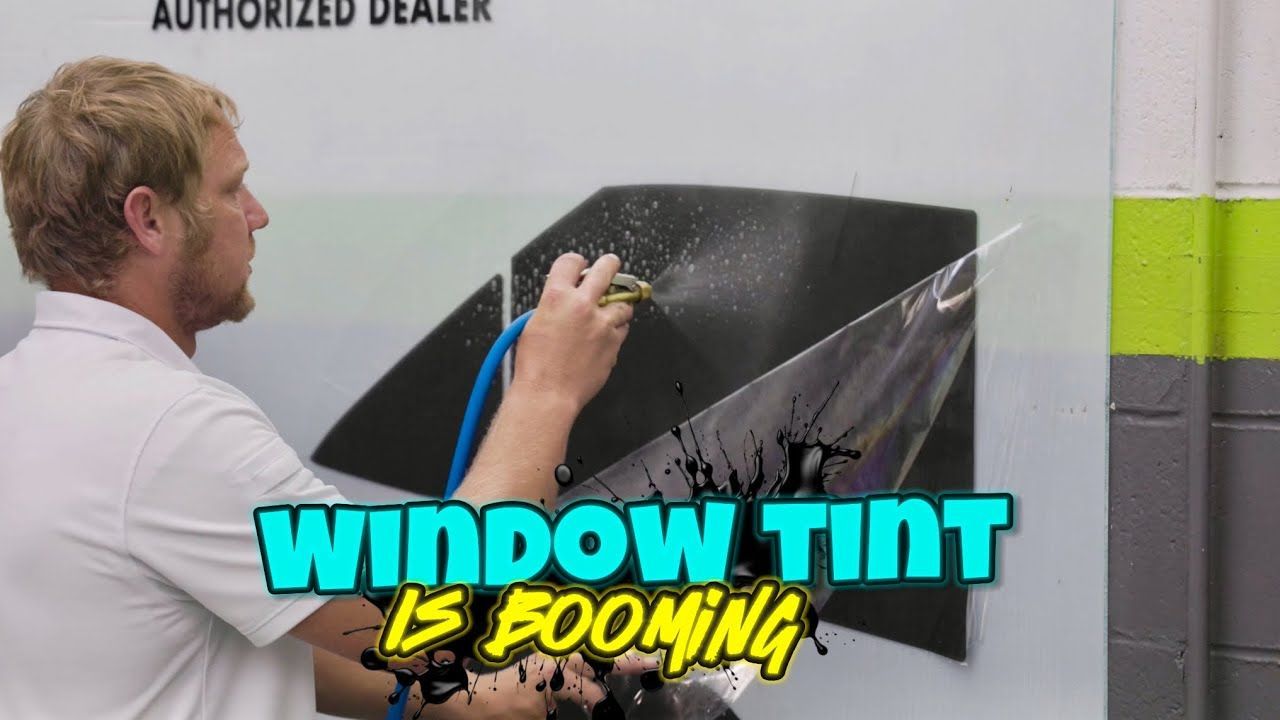
Window Tinting a 2020 Volkswagen Tiguan: Step-by-Step Guide
Hey, it’s Andy with Mid-MO Dents! Today, we’re tinting a 2020 Volkswagen Tiguan. Follow along as we take you through the process of applying high-quality ceramic film to this vehicle. Let’s jump right in!
Getting Started: Prepping the Windows
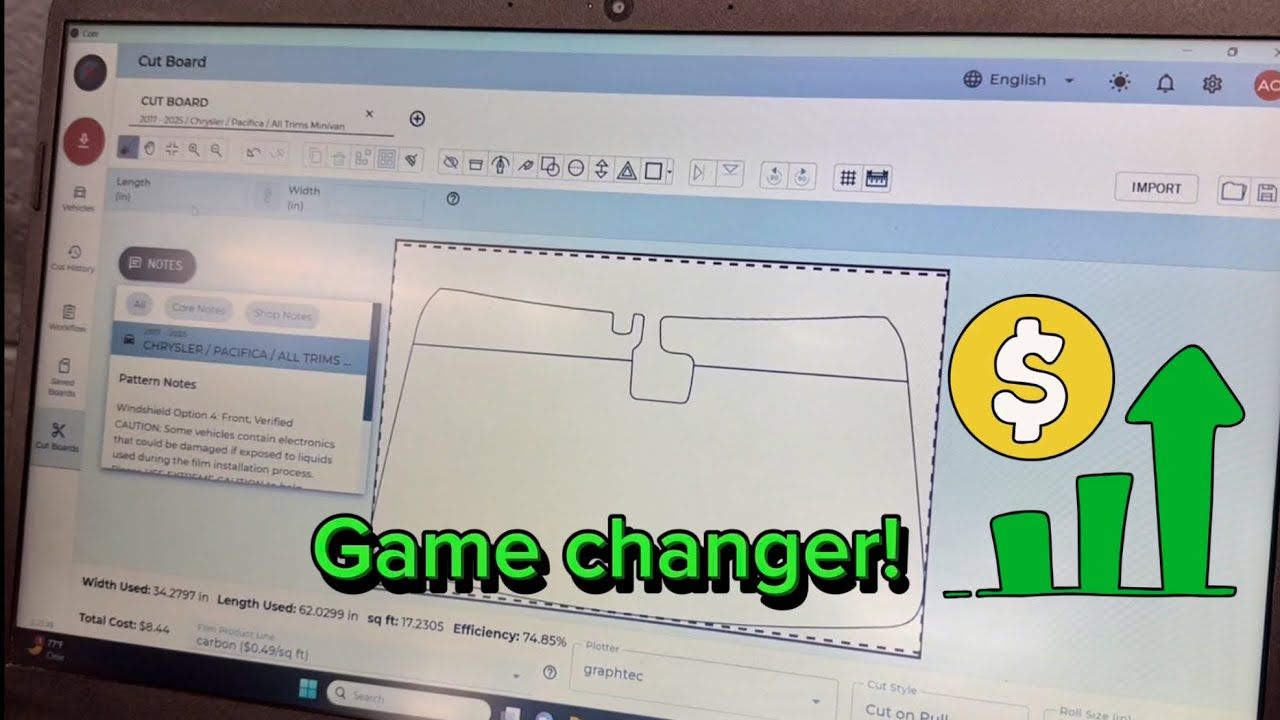
This Tiguan has felt moldings around the windows, so the first step was to remove those to prevent the felt from getting into the film. We loaded some high-tech ceramic 35% film into the plotter and got the cutting process going. After pulling the patterns up on the computer, we were ready to start tinting.
Door Windows Tinting
We didn’t have to take out any screws for the door panels on this car. Instead, we just popped the panels back slightly to remove the rubber sweep, which gave us easy access to install the tint cleanly.
Kyle prepped the window by only wetting the bottom couple of inches before carefully aligning the tint at the top. Once lined up, we started squeegeeing from the top down, rolling the window up to work out the remaining water and air bubbles toward the sides and bottom. The process was quick and smooth.
Tinting the Front Quarter Windows
Next, we tackled the small front quarter windows. These were a bit easier because they had a black border around them, which meant we didn’t have to worry about any visible gaps. Kyle trimmed a little excess film for a perfect fit and squeegeed out the water.
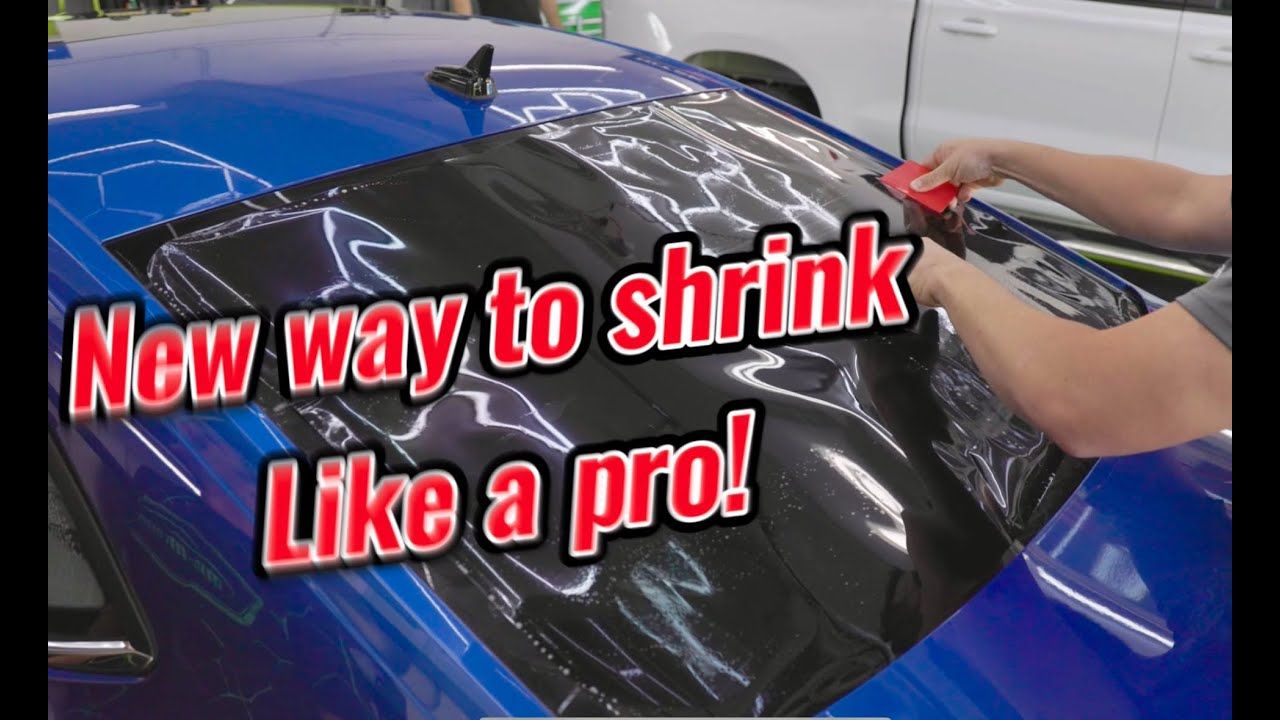
The Back Window: Shrinking and Application
Now onto the part everyone waits for—the back window. After cleaning the outside of the window with soapy water to remove any dirt, we laid out the pre-cut pattern on the board and trimmed it up. Shrinking the back window is always a bit tricky, so here’s how we did it:
We started by creating an H-pattern on the window using a heat gun. This helps tack the film to the window and brings the "fingers" (or wrinkles) to the middle. From there, we used the heat gun to shrink the film, forming it to the curve of the window. We prefer a wet shrink technique, which allows the film to slide easily and keeps things neat without any mess to clean up afterward.
Cleaning and Final Application
For the final clean-up, we used a heavy white scrub pad to clean the defroster lines. Since you can’t use a razor blade on the defrosters, this ensures that any dirt or debris gets scrubbed out before applying the tint.
After carefully lining up the film with no light gaps, we squeegeed out the soapy water, making sure the film was perfectly adhered to the glass. Once applied, we gently heated the inside to dry out any remaining moisture without shrinking the tint.
Wrapping Up
That’s a wrap! The 2020 Volkswagen Tiguan is now fully tinted with high-tech ceramic film, and it looks fantastic. We hope you enjoyed following along with this process.